Get ready to unleash your creativity and give some extra love to the littlest members of your family! In this article, you will discover the wonderful world of sewing baby toys. Whether you are a beginner or a seasoned pro, we will guide you through the steps of creating adorable, safe, and stimulating toys that will captivate your baby’s attention and provide hours of entertainment. From soft cuddly animals to interactive sensory toys, get ready to embark on a delightful sewing adventure that will bring joy to both you and your little one!
Choosing the Right Fabric
When it comes to creating homemade baby toys, choosing the right fabric is essential. Not only do you want to ensure the fabric is safe for babies, but you also need to consider factors such as texture and color.
Check Baby Toys Guide & Review
Selecting baby-safe materials
The safety of the fabric is of utmost importance when sewing baby toys. Look for fabrics that are labeled as baby-safe or specifically designed for children’s products. Organic cotton, bamboo, and minky are popular choices for their softness and non-toxic properties. It’s important to avoid fabrics that may contain harmful chemicals or irritants, such as polyester blends or synthetic materials.
Considering fabric texture and color
Babies love to explore different textures, so selecting fabrics with varying textures can provide a tactile experience. Consider using fabrics with ribbing, plush textures, or even add soft tags for sensory stimulation. Additionally, the choice of color can also play a role in capturing a baby’s attention. Bright and contrasting colors are known to be visually stimulating for infants, so don’t be afraid to incorporate them into your fabric selection.
Testing the fabric for durability
While it’s important to prioritize softness and safety, durability is also a key factor when choosing fabric for baby toys. Babies are known for their curious and sometimes rough nature, so it’s essential to select fabrics that can withstand wear and tear. Look for fabrics that are machine washable and have a sturdy weave. Testing the fabric by pulling it in different directions can also give you an idea of its strength and potential longevity.
Deciding on Toy Designs
Once you have chosen the perfect fabric, it’s time to think about the design of the baby toy. Consider these factors when deciding on the right toy designs for your little one.
Choosing age-appropriate toy designs
Different age groups have different developmental needs, so it’s important to choose toy designs that are suitable for your baby’s age. For newborns, simple toys with contrasting colors and gentle sounds are ideal. As they grow older, toys that encourage grasping, reaching, and problem-solving become more appropriate. Look for patterns or designs that cater to specific age milestones to ensure your baby gets the most out of their toy.
Considering sensory features
Babies explore the world through their senses, so incorporating sensory features into toy designs can greatly enhance their playtime experience. Consider adding crinkle materials, squeakers, or textured fabrics to engage their sense of touch and sound. A variety of textures, such as soft fabrics and ribbons, can provide a multi-sensory experience that stimulates their developing senses.
Picking interactive elements
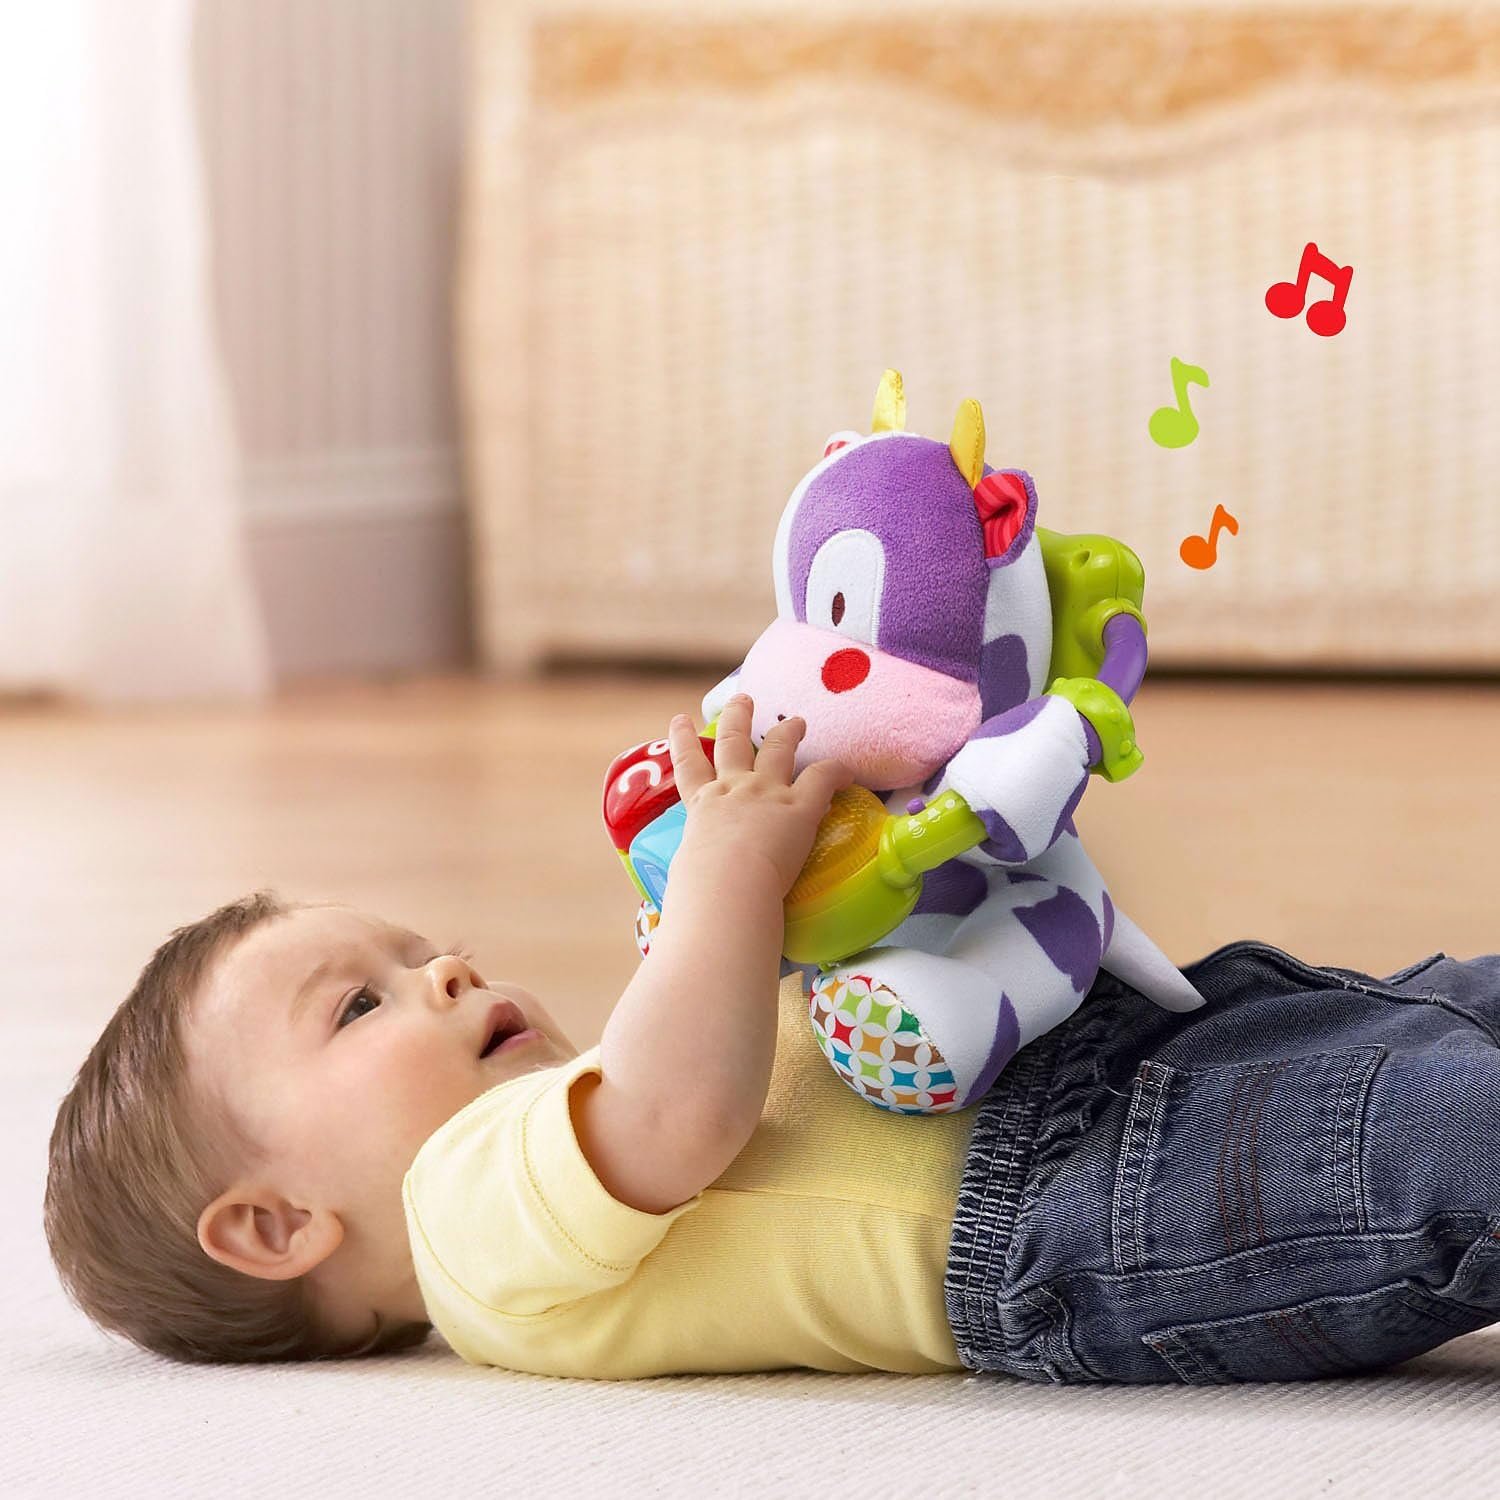
Toys that promote interaction and engagement are excellent choices for baby toys. Look for designs that feature movable parts, such as flaps or buttons, that trigger sounds or lights. These interactive elements can help develop your baby’s motor skills and cognitive abilities while keeping them entertained. Additionally, toys that encourage social interaction, such as puppets or fabric dolls, can provide opportunities for imaginative play and emotional development.
Gathering Essential Materials
Before you dive into the sewing process, it’s important to gather all the necessary materials. Here’s a list of the essential items you’ll need to create your own baby toys.
Fabric
Select fabrics that are safe, soft, and visually appealing. Look for fabric options that align with your chosen toy designs and consider using a variety of textures for added sensory stimulation.
Stuffing material (polyester fiberfill)
Polyester fiberfill is a common stuffing material used in soft toys. It provides a soft and plush feel while adding volume and shape to your finished toy. Make sure to choose a hypoallergenic and non-toxic option for the safety of your baby.
Scissors and rotary cutter
Invest in a good pair of fabric scissors and a rotary cutter for precision cutting. These tools will make the cutting process easier, especially when working with intricate patterns or multiple layers of fabric.
Thread (matching or contrasting colors)
Choose high-quality thread that matches or contrasts with your fabric colors. Matching thread provides a seamless look, while contrasting thread can add a decorative touch and create visual interest.


Pins or clips for holding fabric together
Pins or clips are essential for securing fabric layers together during sewing. They help keep everything in place and ensure accurate stitching. Opt for pins with rounded tips to prevent pricking yourself while working.
Sewing machine or needle and thread
A sewing machine can save time and make the sewing process more efficient, especially when working on larger or more complex toys. However, if you prefer hand-sewing, make sure to use a strong needle and thread that can withstand the stress of toy making.
Embroidery floss and needle (optional)
Embroidery floss and needles can be used for adding intricate details or embroidered features to your baby toys. This optional step allows you to personalize and customize your creations even further.
Ribbon or trim (optional)
Adding ribbon or trim to your baby toys can enhance their visual appeal and provide additional play features. Consider incorporating ribbons for tags, loops for attaching teethers, or decorative trims for a polished finish.
Preparing the Pattern
Before you start cutting fabric, you’ll need a pattern to guide you. Whether you find an existing pattern online or create your own, here’s what you need to do to prepare it for use.
Finding or creating a pattern
There are countless resources available online where you can find free or paid patterns for baby toys. Browse through websites, blogs, or sewing communities to discover patterns that match the toy designs you’ve chosen. If you can’t find the perfect pattern, don’t be afraid to get creative and design your own.
Adjusting the size for the desired toy
Most patterns for baby toys can be adjusted to your preferred size. Consider the age of your baby and the intended use of the toy when scaling the pattern up or down. Remember to maintain the proportions and features of the original design to ensure a well-balanced finished product.
Transferring the pattern onto paper or cardboard
Once you have your pattern, transfer it onto a sturdier material such as paper or cardboard. This will make it easier to trace onto the fabric and ensure the pattern remains intact throughout the cutting process. Use a pencil or fabric marker to accurately trace the pattern without damaging the original.
Cutting out the pattern pieces
Using the traced pattern as a guide, carefully cut out each individual pattern piece. Take your time and follow the lines precisely to ensure accurate and consistent shapes. Label each piece for easy identification later on in the sewing process.
Cutting and Preparing the Fabric
With the pattern ready, it’s time to cut and prepare the fabric for sewing. This step involves some essential preparations to ensure your finished toy looks and feels its best.
Washing and pre-shrinking the fabric (if necessary)
Before cutting, it’s advisable to wash and pre-shrink the fabric, especially if it’s prone to shrinking or if you plan to wash the finished toy. This step helps prevent any unpleasant surprises later on when the toy is washed or exposed to moisture. Follow the fabric’s washing instructions to preserve its color and texture.
Laying out the pattern on the fabric
Carefully lay out your fabric on a flat and smooth surface. Make sure the fabric is free from wrinkles or creases to ensure accurate cutting. Position your pattern pieces on the fabric according to the pattern instructions, taking note of the grainline and any directional prints.

Securing the pattern with pins or weights
To prevent the pattern from shifting while cutting, secure it to the fabric using pins or fabric weights. Place pins or weights along the edges of the pattern pieces, making sure to avoid areas that will be cut. This will help ensure accurate cutting and prevent any distortion.
Cutting out the fabric pieces
Using your fabric scissors or rotary cutter, carefully cut along the edges of the pattern pieces. Take your time and follow the lines precisely for clean and accurate cuts. Double-check that you have cut out all the necessary pieces before moving on to the next step.
Labeling the pattern pieces
To avoid confusion later during the sewing process, label each fabric piece with the corresponding pattern piece number or identifier. You can use a fabric marker or attach small labels to the pieces. Clear labeling will make it easier to match the pieces and follow the pattern instructions.
Sewing the Toy
Now that the fabric pieces are ready, it’s time to bring your baby toy to life. Follow these steps to sew the toy together and create a durable and visually appealing finished product.
Pin or baste the fabric pieces together
Before sewing, it’s helpful to pin or baste the fabric pieces together to keep them aligned and prevent shifting during stitching. Start by matching the edges of the fabric pieces, right sides facing each other, and secure them with pins. Alternatively, you can baste the pieces together by hand using a long, temporary stitch.
Using a sewing machine or hand-sewing techniques
Choose the sewing method that suits your preference and the complexity of the toy design. A sewing machine can make the process faster and more efficient, especially for straight seams or larger toys. If you prefer hand-sewing, use a strong needle and thread and apply even and consistent stitches to ensure durability.
Leaving openings for stuffing and turning
When sewing the fabric pieces together, remember to leave openings in strategic locations. These openings will later be used for stuffing the toy and turning it right side out. Be sure to mark these areas clearly in the pattern instructions and secure the stitches before and after the openings to prevent unraveling.
Trimming excess seam allowance
After stitching all the seams, trim the excess seam allowance to reduce bulk and create a neater finish. Be careful not to cut into the stitches or fabric. Use pointed scissors or pinking shears to trim the edges, especially for curved seams, to help the toy maintain its shape when turned right side out.
Securing small pieces or appliques with hand stitches
If your toy design includes small pieces or appliques, secure them to the main fabric using hand stitches. This ensures that the pieces are firmly attached and won’t loosen or become detached during playtime. Use a strong thread and small, even stitches to achieve a secure and visually appealing result.
Stuffing and Finishing the Toy
With the sewing complete, it’s time to stuff and finish your baby toy. This step brings the toy to life and adds personality and details to your creation.
Stuffing the toy firmly and evenly
Using polyester fiberfill or your preferred stuffing material, firmly and evenly stuff the toy through the openings you left earlier. Pay attention to the corners and edges to ensure a well-shaped and cuddly toy. Avoid overstuffing, as it may cause the seams to burst or distort the toy’s shape.
Closing the openings with hand stitches
Once the toy is stuffed to your desired firmness, carefully hand stitch the openings closed using a strong thread and small, even stitches. Double-check each stitch to ensure that there are no gaps or loose threads. This step is crucial for the durability and safety of the toy.

Adding any desired embellishments
Now is the time to personalize and add any desired embellishments to your baby toy. Consider attaching decorative ribbons, fabric tags, or small appliques to enhance the toy’s appearance and play value. Be mindful of the baby’s age and the potential safety hazards associated with certain embellishments, ensuring that everything is securely attached.
Embroidering facial features or details
If you want to add facial features or intricate details to your baby toy, embroidery is an excellent way to achieve a polished and professional look. Use embroidery floss and a needle to carefully stitch the desired features, such as eyes, nose, or mouth. Take your time and refer to embroidery tutorials or patterns if needed.
Attaching ribbons, tags, or teething rings
For added functionality and sensory stimulation, consider attaching ribbons, fabric tags, or teething rings to your baby toy. These features provide easy grabbing points and tactile experiences for little hands. Make sure to securely attach these elements using strong thread and reinforced stitching to prevent them from detaching.
Ensuring Safety and Durability
When creating homemade baby toys, safety and durability are paramount. Here are some important considerations to keep in mind while crafting your baby toy.
Securing all seams and attachments
To ensure the toy’s longevity and safety, make sure to secure all seams and attachments properly. Double-check that stitches are tight and secure, and reinforce any weak spots or areas that may undergo extra stress during play. Pay particular attention to small parts or features that may detach and pose a choking hazard.
Double-checking for loose threads or small parts
Before handing the finished toy to your baby, thoroughly inspect it for loose threads or small parts that may come loose. Trim any excess threads and ensure that all components are securely attached. Conduct a careful visual and tactile examination to ensure there are no potential hazards, such as loose buttons or beads.
Testing the toy for strength and integrity
Before introducing the toy to your baby, perform a strength and integrity test to ensure it can withstand daily use and play. Gently pull on the seams and any attached components to check for durability. Inspect the toy from different angles and manipulate it to evaluate its ability to withstand twisting, squeezing, and tugging.
Avoiding the use of buttons or beads
To minimize the risk of choking hazards, it is advisable to avoid using small buttons or beads when creating baby toys. Opt for safer alternatives such as embroidered or appliqued features instead. If you do use buttons or beads, make sure they are securely attached and cannot be easily detached or swallowed.
Ensuring all materials are non-toxic and machine washable
It’s crucial to ensure that all materials used in your baby toy are non-toxic and safe for infants. Check that the fabric, stuffing material, and any attached embellishments are specifically labeled as non-toxic or baby-safe. Additionally, making sure that all materials are machine washable allows for easy cleaning and maintenance, ensuring that the toy remains hygienic and safe for your baby.
Adding Personal Touches
One of the joys of creating homemade baby toys is the opportunity to add personal touches. Consider incorporating these ideas to make your baby toy extra special and meaningful.
Using fabric in baby’s favorite colors or patterns
When selecting fabric for your baby toy, consider using colors or patterns that resonate with your little one. Familiar and loved colors or patterns can create a deeper connection and provide comfort. Pay attention to your baby’s preferences and incorporate them into the toy design.
Incorporating special themes or motifs
If your baby has a special interest or theme that brings them joy, incorporate it into the toy design. Whether it’s their favorite animal, character, or hobby, adding these personal touches can make the toy more engaging and cherished. Look for fabric prints or appliques that align with the chosen theme.
Embroidering the baby’s name or initials
Adding a personal touch by embroidering your baby’s name or initials onto the toy can make it truly unique and special. Whether you choose to embroider directly onto the fabric or create a small name tag, this personalization adds a sentimental value that can be cherished for years to come.
Adding textured elements for sensory stimulation
Enhance the sensory experience of your baby toy by incorporating textured elements. Consider attaching ribbons, appliques, or fabric tags with different textures for your little one to explore. These textured elements can provide tactile stimulation and engage their developing senses.
Creating a unique and customized design
Don’t be afraid to let your creativity shine and create a baby toy design that is truly one-of-a-kind. Experiment with different fabric combinations, appliques, or unique features that showcase your personal style. Creating a customized design allows you to express your creativity and create something truly special for your baby.
Exploring DIY Toy Ideas
If you’re looking for inspiration beyond the conventional stuffed animals, here are some DIY toy ideas to ignite your creativity and expand your repertoire.
Soft fabric taggies or ribbon rings
Taggies or ribbon rings are simple yet endlessly entertaining toys for babies. They provide various textures and loops for little hands to explore and grasp. Create your own taggies or ribbon rings by sewing fabric strips or loops onto a fabric base and securely attaching them.
Stuffed animals or plushies
Stuffed animals or plushies are timeless and cuddly companions for babies. Choose a simple animal design or get creative and design your own unique character. Experiment with different fabrics and textures to add extra sensory appeal.
Interactive fabric books or sensory blocks
Fabric books and sensory blocks are excellent educational tools that promote learning and sensory exploration. Create fabric pages or blocks with different textures, colors, and patterns. Add interactive elements such as flaps, mirrors, or crinkle materials to engage your baby’s senses and develop their cognitive skills.
Teething toys or fabric teethers
Teething toys are a must-have for babies going through the teething stage. Create fabric teethers by sewing soft textured fabrics around a safe teether ring or attaching fabric loops for chewing. Be sure to choose non-toxic materials and secure all components firmly.
Crib mobiles or fabric rattles
Crib mobiles and fabric rattles are wonderful additions to a baby’s nursery. Create fabric shapes or animals, stuff them lightly, and attach them to a mobile base or rattle. Ensure that all attachments are secure and avoid using small parts that may pose a choking hazard.
By following these steps and ideas, you can confidently create a variety of sewn baby toys that are safe, engaging, and personalized for your little one. Remember to prioritize safety, durability, and sensory stimulation while letting your creativity shine. Happy sewing!